Hello everyone!! Sorry it's been so long since my last post! I have been crafting like crazy getting everything ready for our family reunion! I do kids activities and I came up with some pretty great projects- (if I do say so myself!) I can't wait for the kids to see them!! The first project that I made is a reunion passport. They will keep this little book with them throughout the week and get it stamped each time they "do" one of the events listed in their book. There are things like "chapel", "meals", "olympics", etc. By the end of the week, they will have their books all stamped up to show all that they have done!! Yay for the cricut cartridge Fabulous Finds!! That is where I got the cover and the pages for this awesome little album! I used kraft paper for the cover and ivory cardstock for inserts. I used several different stamp sets to add interest to album and I will post pictures of them too. Ok, the album cover and inserts are from, of course, the Fabulous Finds cricut cartridge, page 125, and I, for one, think that it lives up to its name! The cover is cut at 4.26"H and the inserts are also cut at 4.26"H. (The width is automatic as long as you have them linked on your Gypsy.) I will list the names of the stamp sets under their respective pictures.


Of course, I had to make one for myself! :-)

I used a magnet closure for mine, but since I made 30 of these babies, I used small velcro dots on the rest of them. Either closure works just fine!
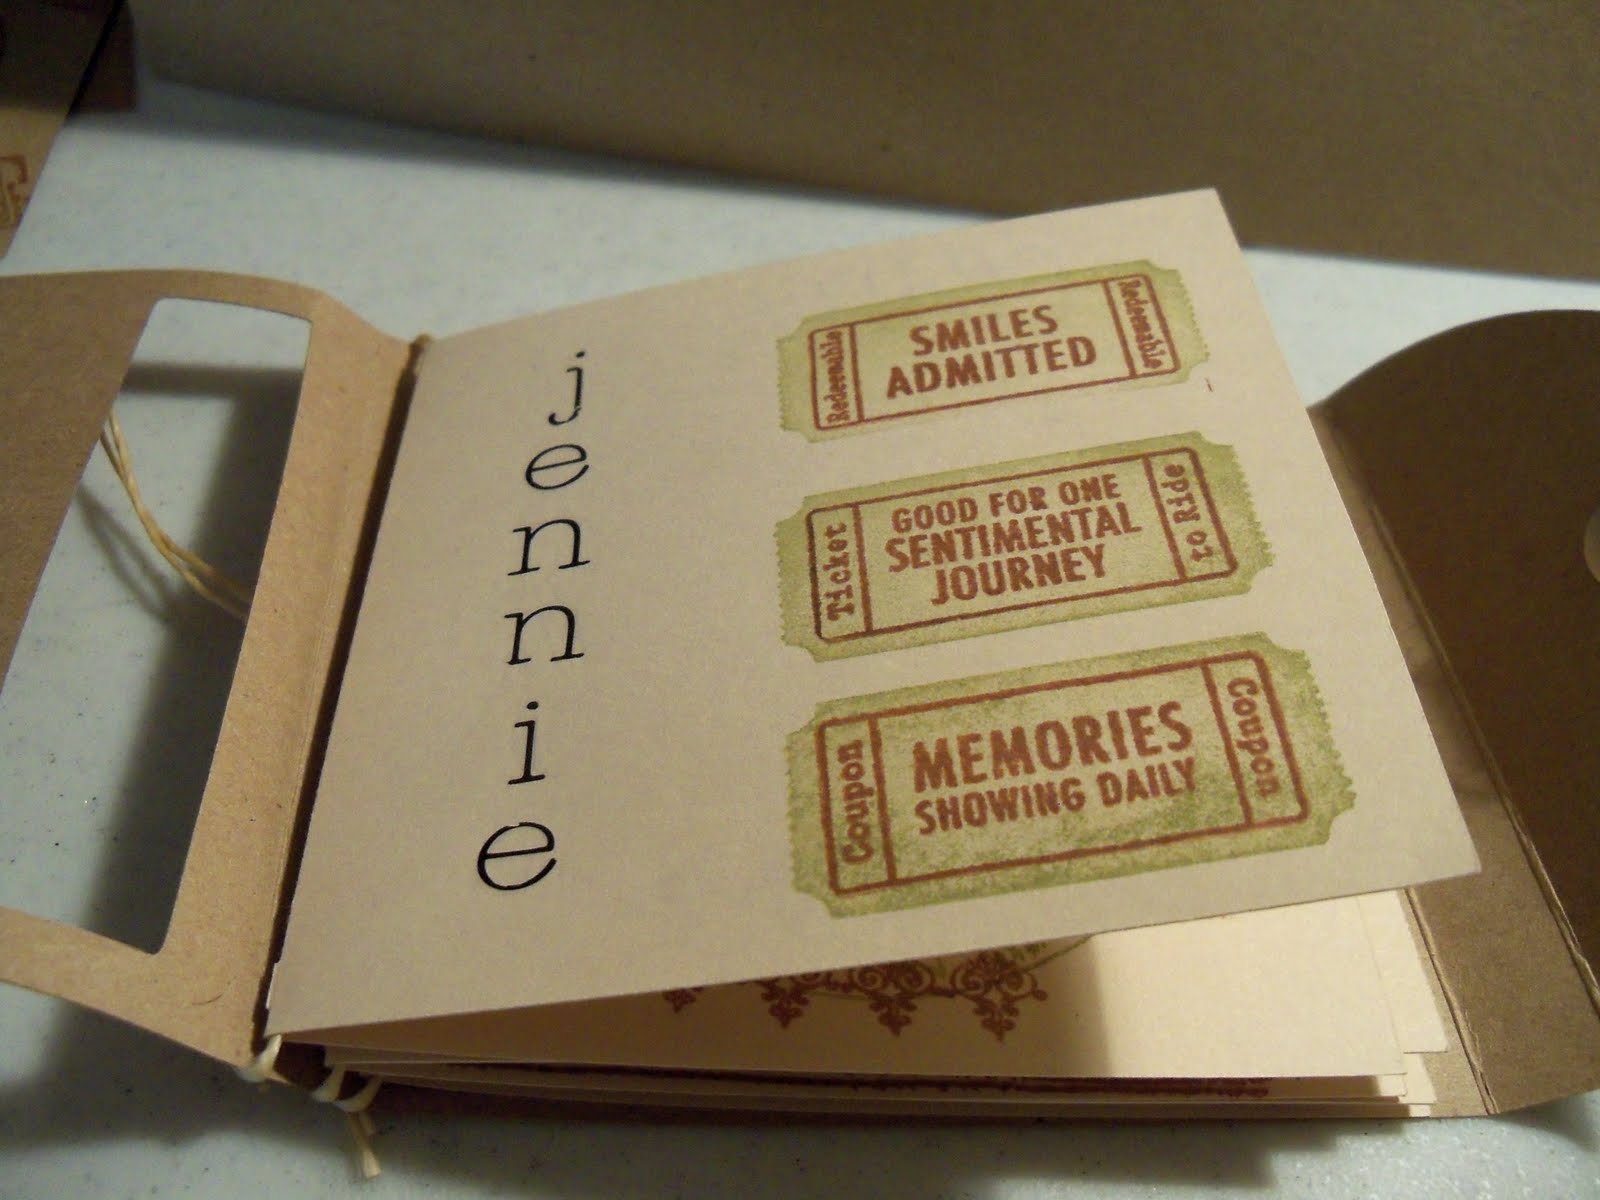
I love this stamp set from Close To My Heart called "Just the Ticket"

The globe and decorative edge stamps are from a Tattered Angels set called "Time Traveler". This set is huge and has some beautiful stamps for vintage-type projects! Love it!

The "remember" stamp is from a Stampendous set called "Take Note".

I made some autograph pages in them so that the kids can get family members that they don't get to see very often to write them a little message! Should be a fun activity!

The stamps for the back page are from another Close To My Heart set called "Vintage Post Card". Very fitting for this occasion!

The whole cover is decorated with some stamps from the set I mentioned earlier from Tattered Angels called "Time Traveler". I love all the stamps in this set! It's like it was made for this project!

This is how the cover looked before I put the pages inside and folded it up. This gives you a better view of the positioning of the stamps. My arms were actually sore after stamping and scoring 30 of these! :-)

This is the "Time Traveler" stamp set. I got mine from Archiver's and used a 30% off coupon. It is on a 12x12 sheet so it's really big!

On the left is the CTMH set called "Vintage Post Card". On the right is the Stampendous set called "Take Note". (As you can see, I use my stamps and they sometimes stain!)

The last stamp set is the other CTMH set called "Just the Ticket". I have used this set so much! It's just so fun!
I hope you enjoyed looking at this project and maybe it will inspire you to create something similar for the little ones in your life! Savor every moment you have with them! They grow up way too quickly!! I will try to have my other reunion project posted in the next few days but I'm not sure exactly when because we'll be traveling to our reunion in Ohio! Thanks for coming to visit me!
Til next time,
Java Jen

Comments