
Sample card for Today's Gypsy Made Simple challenge

Hello everyone!! Happy Saturday!!
Today I am posting my take on Sheila's tri-fold card tutorial that she is sharing today over at She's a Sassy Lady .  She was so great and designed a tri-fold card for those who don't have the new Expression2. (There is a pre-loaded cartridge on the new E2 that has a tri-fold card feature on it.)  You can receive her Gypsy file for this card by visiting her blog and making any size donation to help the Alabama tornado victims. If you have never downloaded a file for your Gypsy, it is simply a file with all of the cuts already on the mats for you.  If you don't have the cartridges that she used in the original file, she also made one as a template so you can choose your own images from cartridges that you own! This is just so cool!! Be sure to head over to her blog and view her awesome videos that will show you how she made this file and to make a card of your own and link it to her post!

Now, on to my card!

This is the base cut out in kraft paper.

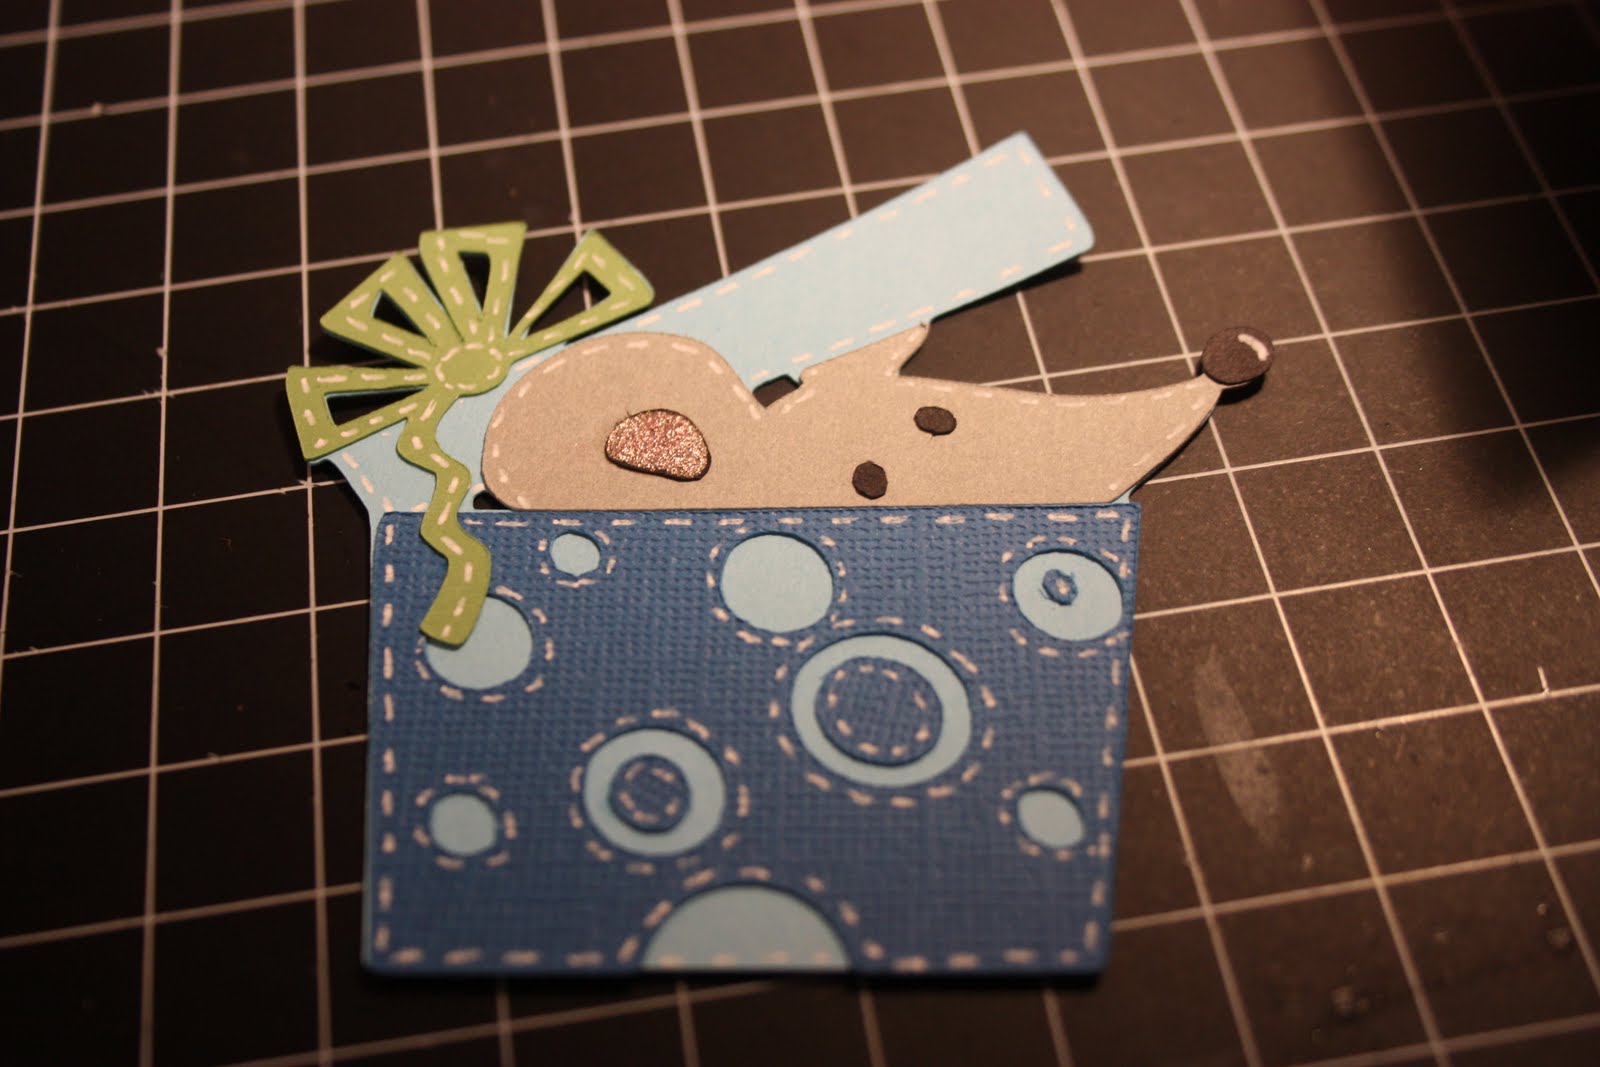
Here is the mouse in the present! So cute!

Here are both images assembled and ready to add to the base.

Front of card

Middle layer of card

This is back layer. The stamp is from an upcoming Club Ruby kit.

My trademark stamp on the back.

The finished card partially open.

The finished card, all the way closed! So cute! 

You must go to She's a Sassy Lady today to get all the details to make your own version of this fun card! Thanks so much for stopping by today!


Comments

Your card is WONDERFUL!!! I just love the stitching on the mouse package it looks like cheese! LOVE IT! Thanks so much for playing along at She's A Sassy Lady!
Bamabel said…
I love your take on the card! It is just so adorable!!!!
SherriC. said…
this is super cute Jen, TFS!!!!
Mrs B said…
Oh so cute! TFS!
Hugs,
CindyB

Popular posts from this blog

Be My Valentine Blog Hop

Hello everyone and welcome to the "Be My Valentine" blog hop!! This is the first blog hop that I have had the opportunity to participate in and I've had so much fun!   If you arrived here from  Macy Bella Designs  then you're on the right track. If not or if you have missed a few blogs along the way, be sure to go to the beginning at  Creations With Kathryn  so you can see all of the great Valentine projects today!! There are even some blogs that have blog candy - (like ME!)  After you check out my project, your next stop will be  Crafty Baskets  . Now, on to my project!! I made a box to put a set of Valentine's cards in. I used a 12x12 piece of double-sided cardstock from K and Co. The cards are made with Kraft paper and are a 4x4 size. I used the Cricut Sentimentals cartridge for the postage stamp cut on the front of each card and used my Gypsy to cut them so I could unlink the H and W so it would be 3.75" square. The valentine cuts for the front of the ca

Think Spring Blog Hop

                                Welcome to the THINK SPRING BLOG HOP!!  You should have arrived here from the amazingly talented  Crafty Baskets  !  If you just happened upon my blog, be sure to go back to the beginning at  Creations With Kathryn  . She is our wonderful host for this hop!  On to my project: I decided to make a Spring mini album to showcase a few pictures that I took at the Zilker Botanical Gardens in Austin, TX.  What is more telling of Spring than flowers?!   I used the Card/Tag feature on the Paisley Cricut cartridge and used paper from the DCWV Spring cardstack. (I think this stack was from last year or maybe even the year before! :-) I'm just finally using it! )  The paper flowers throughout are from the 3 Birds Pretty Petals collection.  Read to the end of this post to find the link for the next blog to hop to and for my blog candy! This is a pic of an open page. Now for my blog candy!!  Just leave me a comment on this post with a way to contact you -

My Pink Stamper Challenge

My Pink Stamper has posted a challenge today to any and all who would like a shot at being on her design team! My project needed to use a favorite Cricut cartridge and the colors: pink, green and brown and another color of my choice. I used my Creative Memories Cheerful Seasons cartridge and my Imagine with the Mr. Frosty pattern cartridge and Snapshot Everyday cartridges. I am going to frame this project so I can always look at my sweet little, brand-new grandson!! The mat behind this adorable picture was printed and cut on my Imagine from the standard shapes on the Imagine and the Mr. Frosty cartridge. I really like this snowflake pattern! This is a close-up of the tree and layers from page 60 of my Creative Memories Cheerful Seasons Cricut cartridge and was cut at 3.5"H. I used Star Dust Stickles to make the "snow" on the tree look like it was glistening! Notice the "wood" paper for the tree trunk - this is a texture pattern on the Snapshot Everyday Imagine