Hello everyone! This project is the one that Kim featured over at Olive Juice Studio this week!! It was so much fun to be able to share these invites with so many!! Be sure to visit her site and become a follower because she has so many awesome projects and tidbits that you won't want to miss a thing!! Her site is www.olivejuicestudio.com . Now on to the project!
I am making baby shower invitations for our daughter's shower that will be in late September. She loves owls so we found this adorable one on Create a Critter! I'm also showing you how to create multiples of images so that you can assemble lots of cards at once. We started out thinking that we would only need about 30 of these invites but once we started preparing our guest list......ummmm........looks like we're gonna need about 100! Oh well, good thing I have my Gypsy to make this easy!! Here we go!


I am making baby shower invitations for our daughter's shower that will be in late September. She loves owls so we found this adorable one on Create a Critter! I'm also showing you how to create multiples of images so that you can assemble lots of cards at once. We started out thinking that we would only need about 30 of these invites but once we started preparing our guest list......ummmm........looks like we're gonna need about 100! Oh well, good thing I have my Gypsy to make this easy!! Here we go!


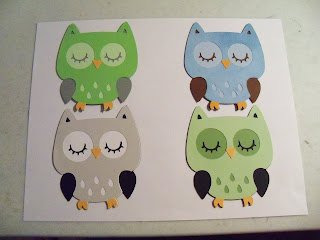
Here is a pic of the completed invites. We chose two different color schemes so they wouldn't all be the same! (My daughter's idea!)

These were some of the other color combos that we tried.

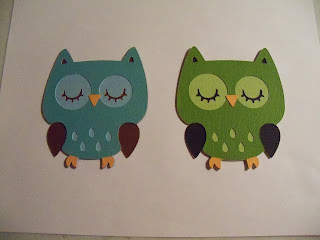
We ultimately decided on these colors!


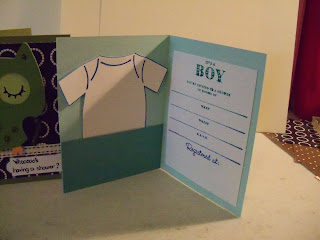
The inside of the invite - The "It's a Boy" and the info stamp are from a Martha Stewart set. The "registered at" stamp is from MFT stamps. I cut the onesie from the New Arrival cartridge to use for additional information. I used the cricut markers first and then cut it so it would be outlined.I then stamped "NOTE" on it for additional information. I love how it looks!

This is the label on the front of the card that says "Whooooo's having a Baby Shower?" Notice that I was able to make sure that I was cutting on an 8.5x11 size paper since that is the size of white cardstock that I had. This label is on Fabulous Finds.

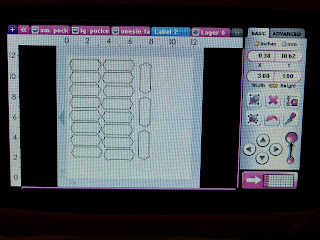
Once again, I had white cardstock in 8.5x11 so I positioned the onesies to fit within that size. The Gypsy makes it so easy!

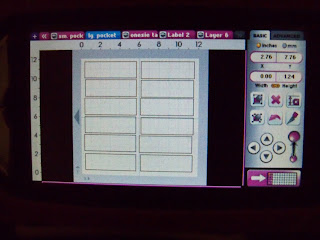
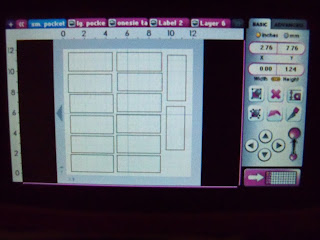
The pocket on the inside of the invite is just a piece of paper cut to size. Since I'm making 100 of these, using my Gypsy makes it way easier to do this instead of cutting them all individually! This pic is for the larger pocket, (I have 2 different card sizes), and the pic below is for the smaller pocket. I really can't imagine doing projects like this without my Gypsy!


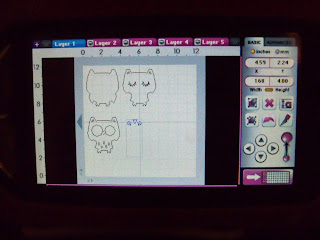
When creating a file that I'm going to use to cut out multiples of layers, I always have one page that contains all the layers so that if I need to make just one, I don't need to cut out a bunch of each layer. That is usually the first page of my file.
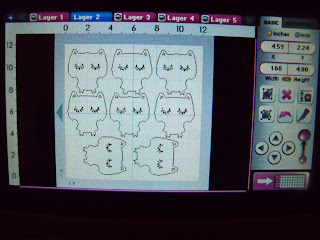
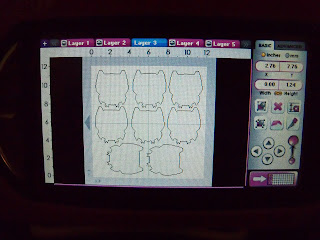
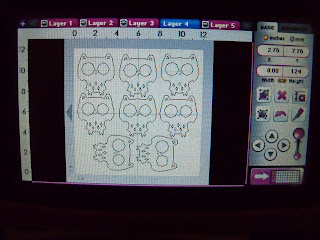
These next few pics are showing how multiples of the layers can be positioned on your paper to minimize waste.


Look at all these little feet and noses! I was able to cut out 40 sets from one 12x12 piece of paper!
Well, that's it! As always, if you have any specific questions, please feel free to leave me a comment and I'll get back to you! Thanks so much for stopping by today!

Comments
Will you have the guests write advice to the new mom (your daughter) on the onsies??
I hostessed a shower for a friend where we used sharpies to write on the outsides of diapers "in different sizes" for the new parents to read while diapering baby. :)